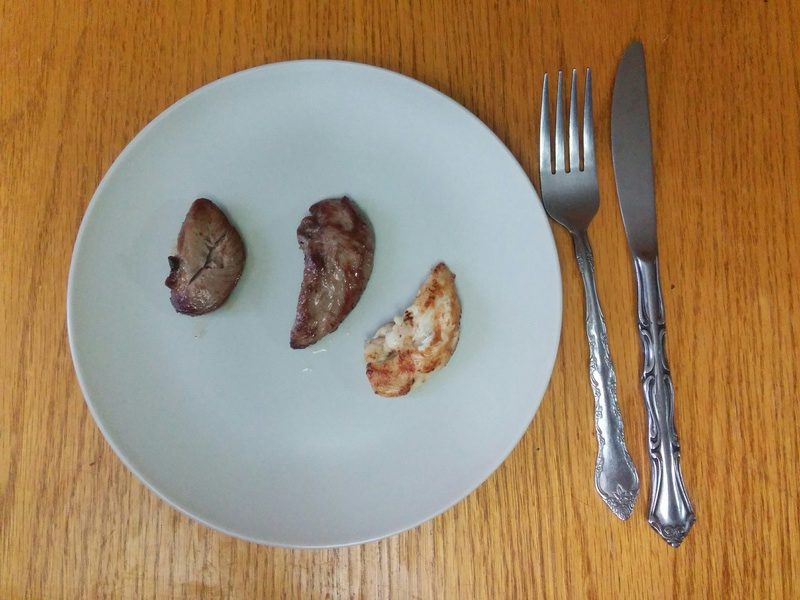
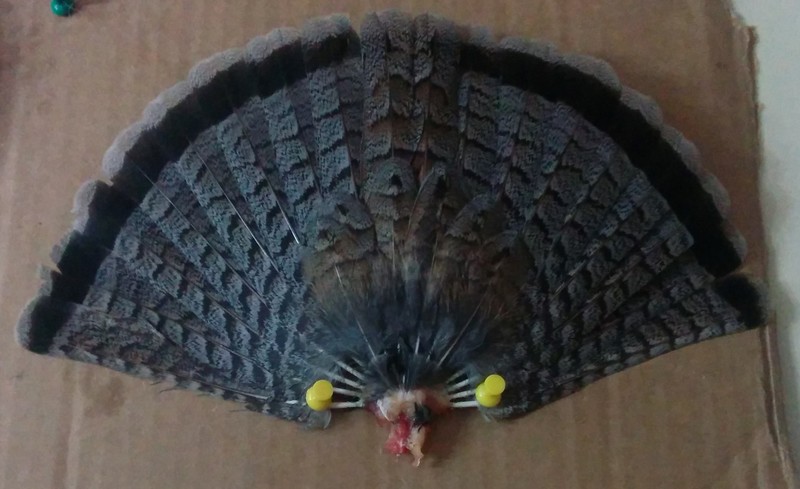
Vince shot a variety of different birds, so we went over for a taste test.
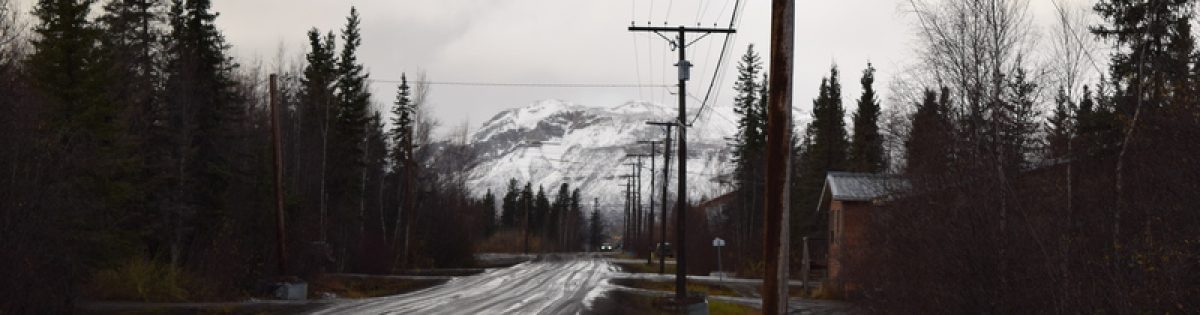
Faye and Maciek's Adventures in the frosty Canadian North
Vince shot a variety of different birds, so we went over for a taste test.
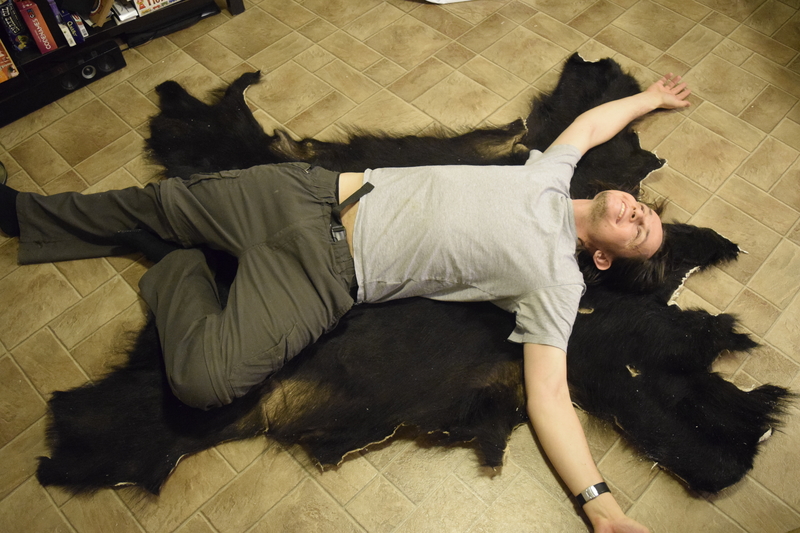
Faye and I got our hands on a bear pelt recently. We kind of inherited it. It’s a long story.
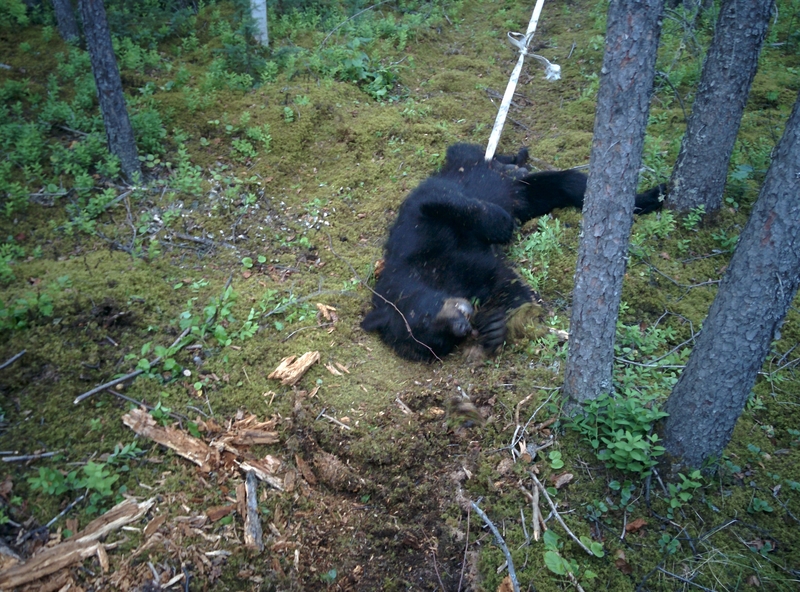
The easy part was skinning him.
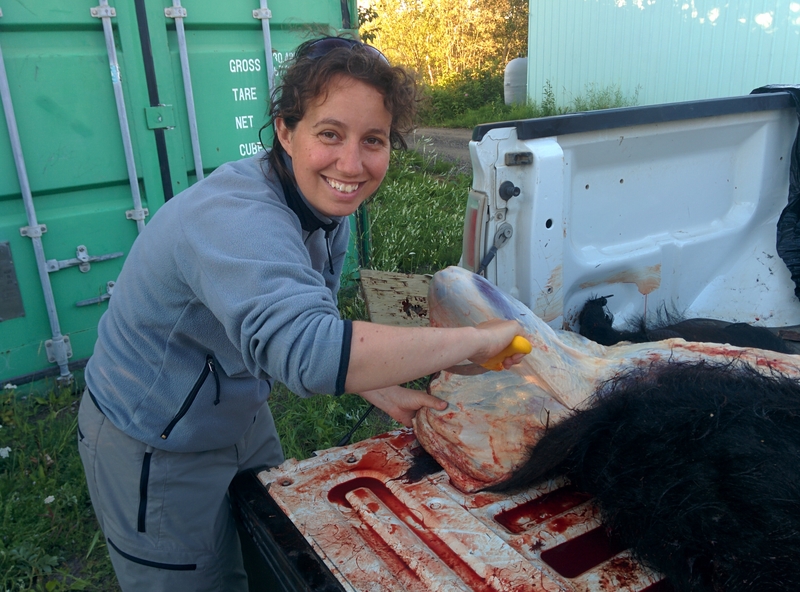
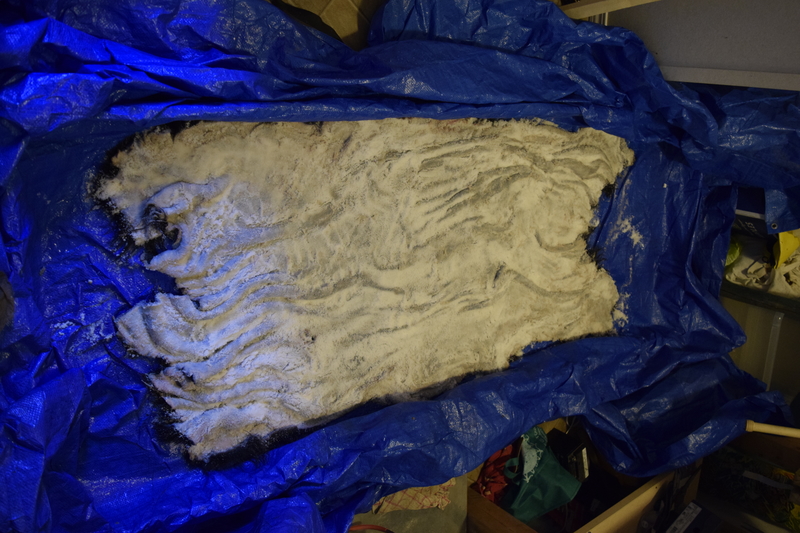
Then we discovered the nightmare that is fleshing and tanning. First up, it’s gotta be done fast because:
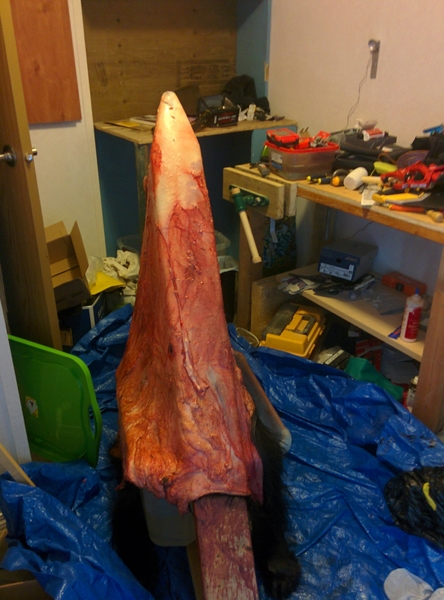
Raw bear pelts are heavy. There’s a lot of fat on them. A lot of fat. A neighbour lent me his Ulu and I got to slicing.
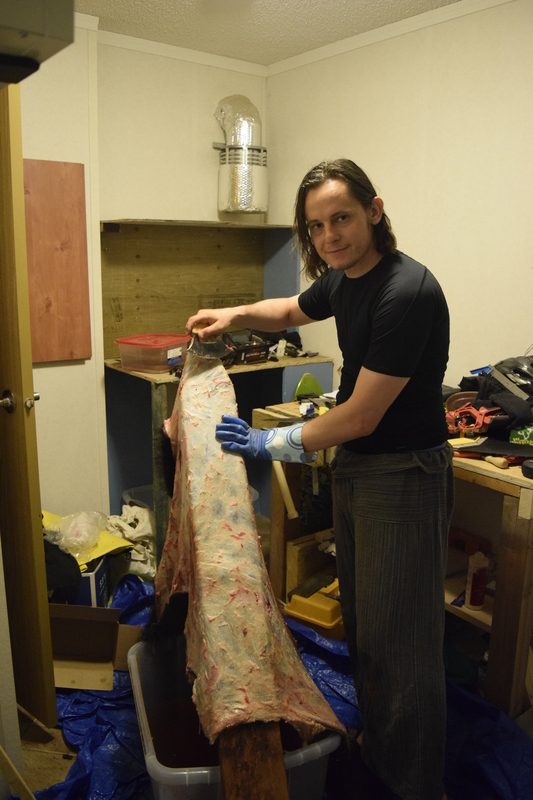
You’ve gotta cut as close to the skin as possible, but not too close or you’ll cut through and get holes in your pelt.

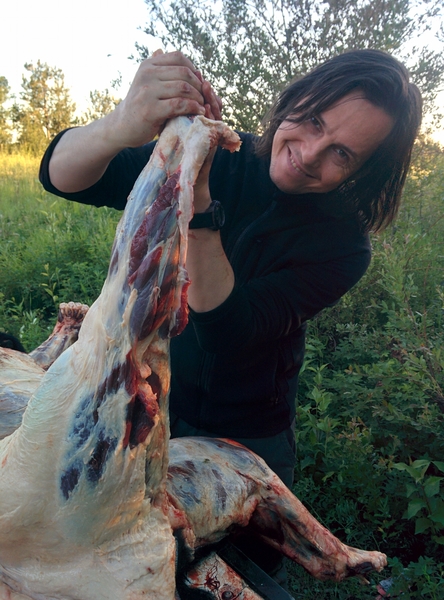
Bears are not recommended as a first tanning project because they’re so damned fatty, and their skin is so thin and the fat permeates deep, deep into their skin.
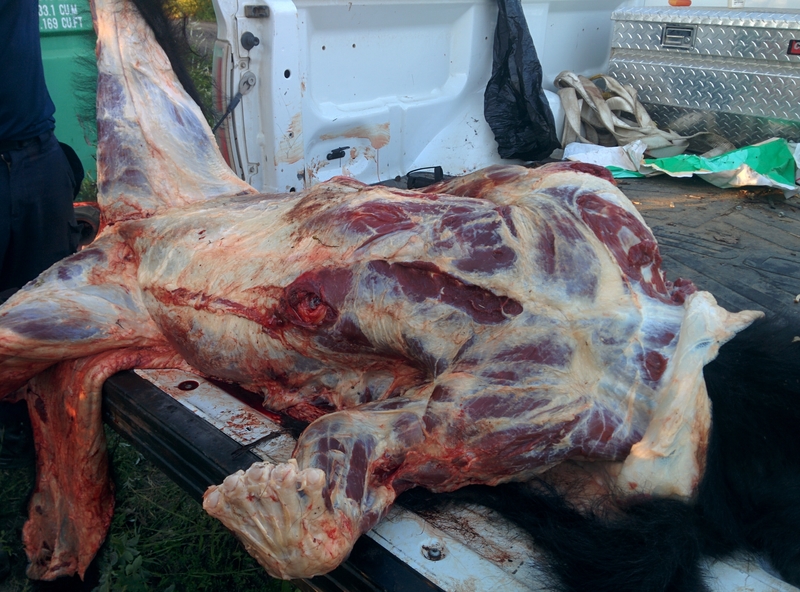
Even after 20 hours of fleshing there was still heaps more fat constantly appearing out of the skin itself.
No matter how much work I did, it never seemed any closer to being done. I’d clear an area of fat and then the next time I took it out there’d be more fat there again. Tougher fat, closer to the skin, more tightly bound, even harder to cut away. Plus, I’d never done this before or even seen a completed bear hide, so I had no idea what I was doing, whether I was doing a good job, whether I’d fucked it up at the start and was just wasting my time, whether it was already good enough and I should just be done with it, or should give up and throw it away, no idea what all my efforts would achieve and whether it was even worth pursuing. I started having flash backs to the Ph.D.
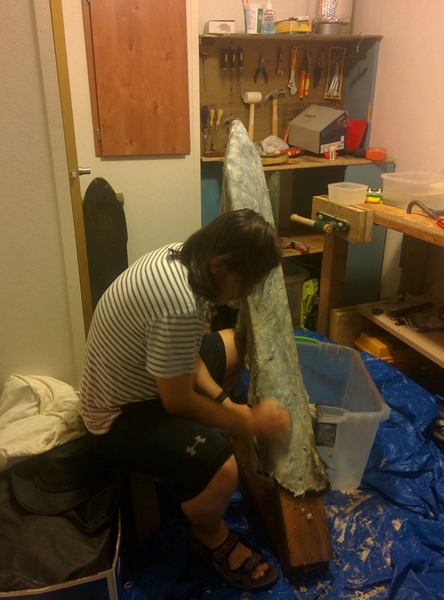
Eventually I just decided enough was enough and bathed him in salt (to force out the water and stop any decomposition) and left him until the hardcore tanning chemicals I’d ordered online arrived.
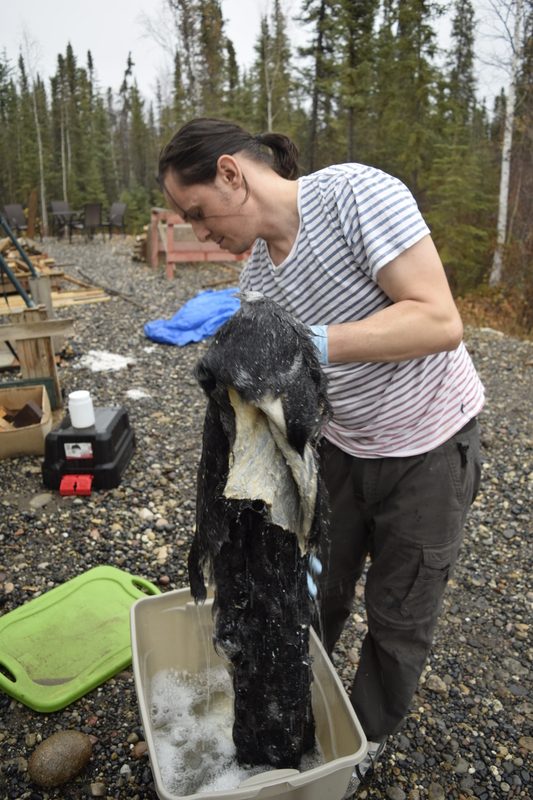
To tan a fleshed hide, you need to first soak it in acid (pH around 2.0), then soak it in degreaser to get even more of that endless fat out, then soak it in super crazy harsh “will blind and kill you” chemicals (we used “PARA-TAN”, a complex of polymerized aluminum salts) that rip apart the collagen bonds in the skin and turn it into leather. Finally you apply an oil to it to make it dry all soft and nice.
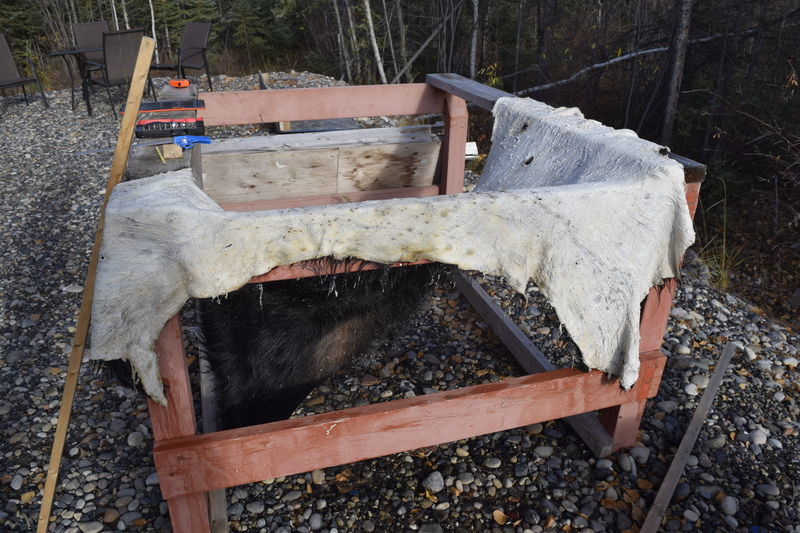
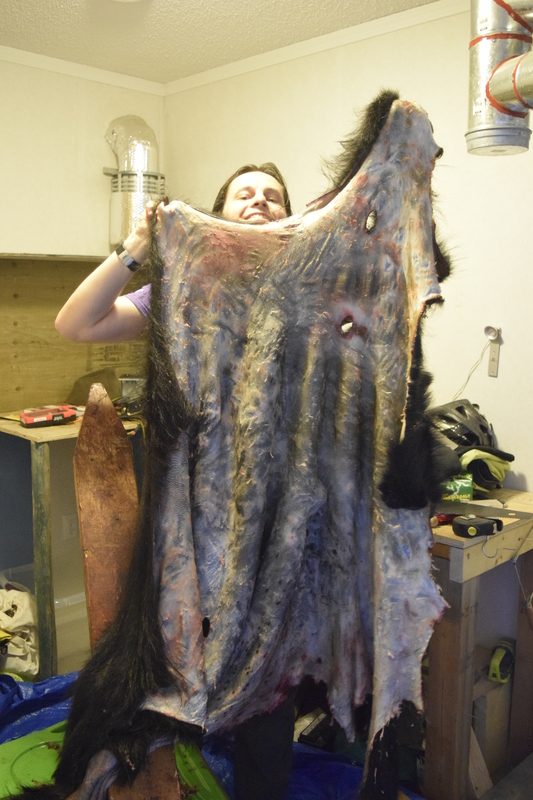
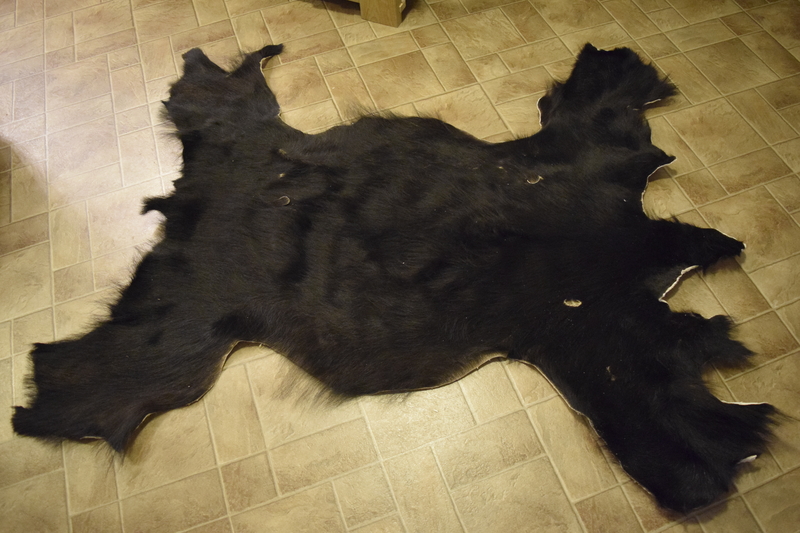
When the pelt is drying after being tanned and oiled, you’re meant to stretch and work it a bunch to make it even nicer and softer. I was so done with him by this stage though that I didn’t bother, and he still came out pretty good.
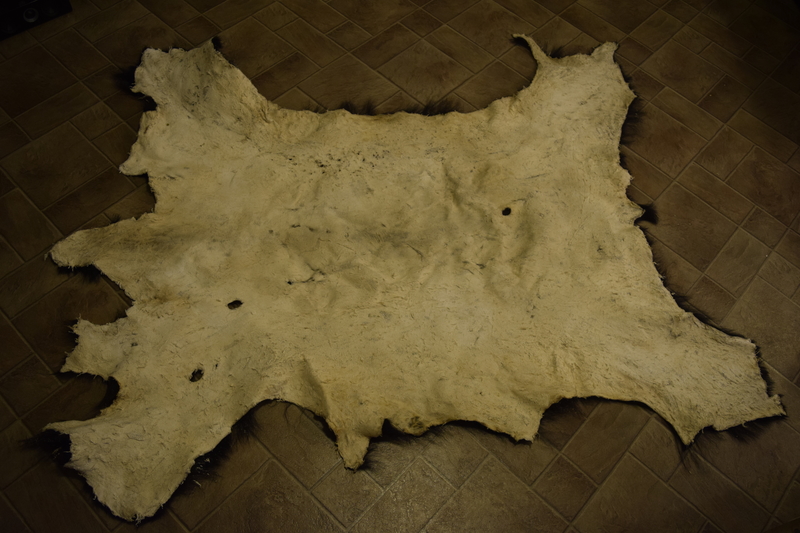
I gotta admit, while I was working on him I was pessimistic. I thought I’d mess it up, all the hair would fall out, the hide would disolve, it’d come out hard as a brick, or who knows what else would go wrong. But even I was pretty pleased with the result.
Finally Faye did some finishing work on him, like cutting out his counter-intuitively hairless armpits, filling in some holes and cleaning up his edges.
I still remember being about 18 or 19 or so, when my first ever girlfriend’s dad decided to give me the best birthday (or was it Christmas, it didn’t matter) gift that a young man could ever receive: a home brew kit. I’d proudly bring my delicious brews to parties and friends’ places. They were always greatly appreciated and I felt like the most popular boy in town. My secret: making beer is easy and, unless you mess up real bad, home brew almost always tastes way better than store-bought beer.
When we moved north, Faye and I thought about bringing beer brewing equipment, but decided that since it was a mostly-dry town, we didn’t want to develop a reputation as brewers. After a few months here we realised that it wasn’t such a big deal, so started making our own ginger beer using just local store-bought sugar and ginger.
Well, we’ve evolved.
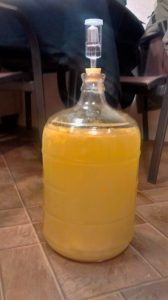
Last time we went south Faye brought back a DIY kit beer. It’s got everything you need to brew a basic beer in one handy transportable box.
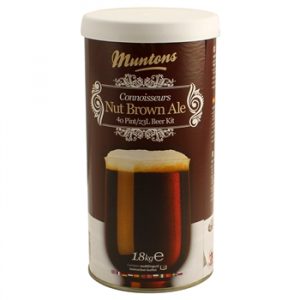
These kits are basically liquid malt extract (i.e., the sugars out of barley, minus most of the water) pumped full of hop-extract. We used our tiny carboy to transform the kit into beer and shared it with our friends.
People seemed to like it, but I was not impressed. It tasted chemical-y, like cheap mass-produced beer or the kind of beer you serve at $1/glass near universities to draw in crowds of poor penny-pinching students. I’d made home brew before, and this was not the good stuff.
So, we ditched the kit and ordered a bunch of raw(-ish) ingredients.
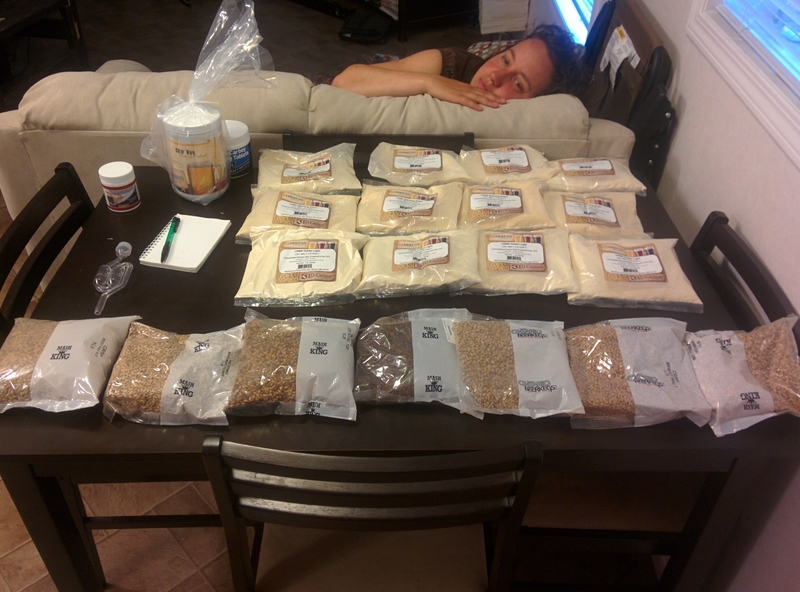
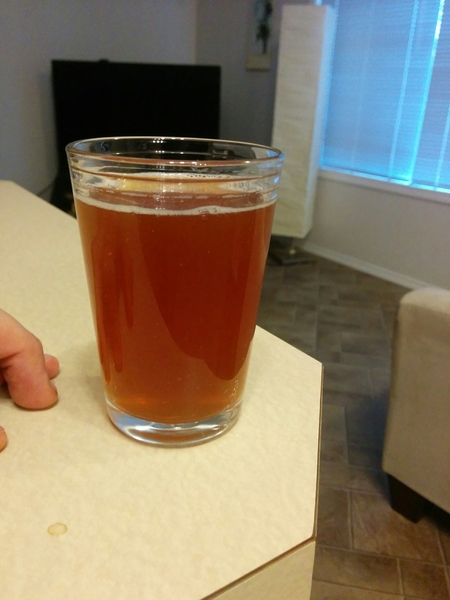
We’ve used them to make a couple of brews so far. The first was a very hoppy ale (almost an IPA). It was super super delicious and we just drank the last bottle today.
The ingredients for our second brew were chosen by Faye’s mum Joyce when she was visiting. She munched on all the grains, quickly spat out the hops (tee hee) and made her pronouncements.
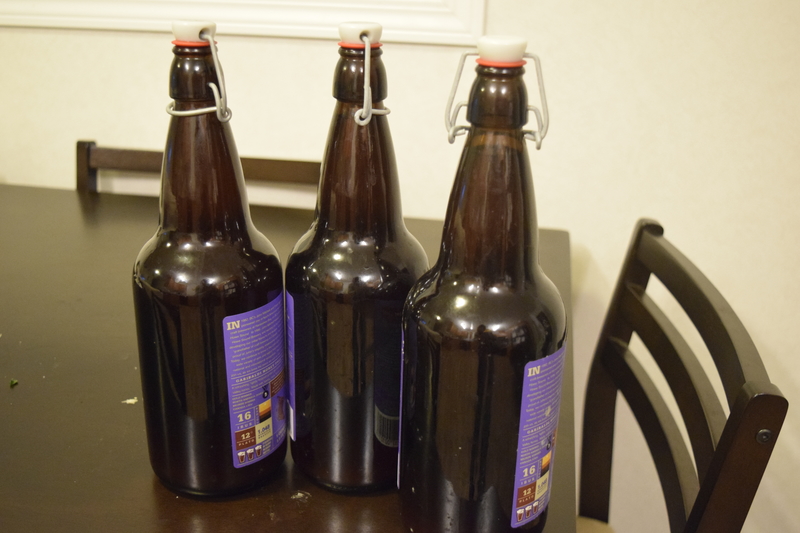
Brew 2 “Joyce’s Ale” has just been bottled now and should be ready for drinking next weekend. It’s an almost-hopless wheat ale, very very light in flavour, with a creamy head. I’m thinking of maybe adding some apricot extract flavoring to it to make it a fruity summer beer.
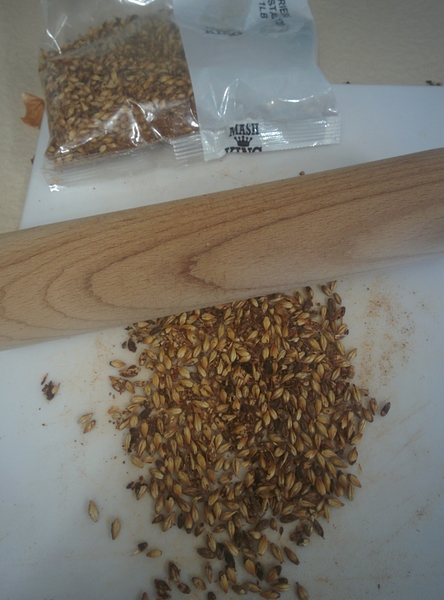
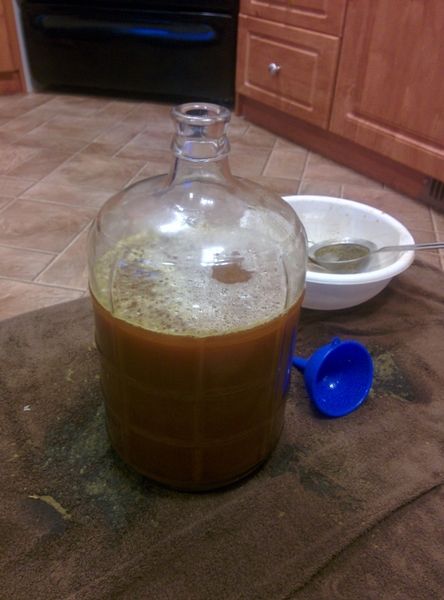
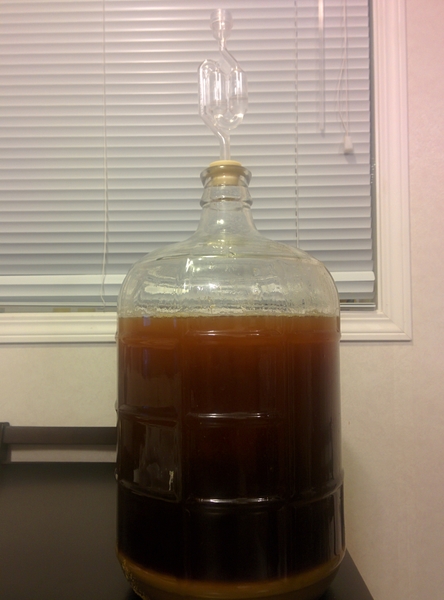
Because our carboy is small we brew in just 10-litre batches, which also keeps us within the town’s alcohol possession limits. The basic procedure goes like this:
Step 1:
Step 2:
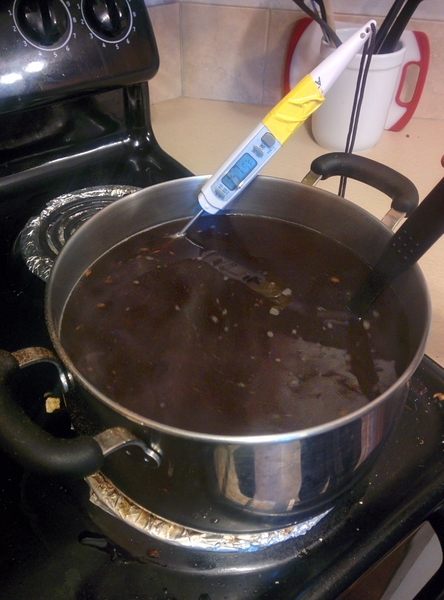
Step 3:
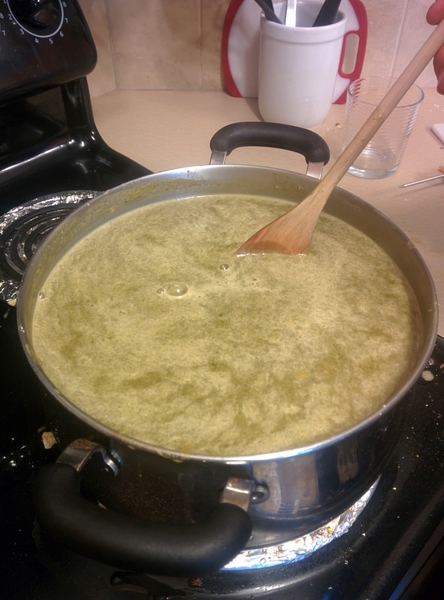
Step 4:
Step 5:
Step 6:
Step 7:
Step 8: