KD

Written by:

A famous Canadian band claimed that if they had a million dollars they’d eat even more “Kraft Dinner”. I decided to discover what all the fuss was about.

dsc_0166_medium


It turns out Kraft Dinner (or, KD, as people as prepared for the Canadianship exam as I am call it) is instant Ramen northern-style. The differences:

  • Cheapest possible Italian-style pasta noodles instead of cheapest possible Asian-style ramen noodles.
  • The instructions say very specifically to microwave it in HOT (their emphasis) water rather than boiling.
  • Instead of MSG seasoning, you get creamy cheese seasoning. To be clear: the creamy part comes from the milk and butter that you yourself add; the cheesy part is… well… You know those individually wrapped slices of plasticy cheese that you can buy (but shouldn’t)? You know, the ones that sort of taste like cheese but mostly taste like weird tangy chemicals? Well, if you distill out just that chemical part and turn it into a powder you’ve got the KD cheese packet!

As for the flavour? My official position as a new half-Canadian is that KD is delicious and I would eat more of it if I had a million dollars.

The spice rack

Written by:

We knew that coming up here food variety would be limited, so we decided to bring the widest selection of non-perishables we could. That mostly turned out to be all sorts of dried spices. Since they arrived our diets have been far more exciting, but there’s so many of them that they hardly fit in the kitchen closets.

dsc_0153_medium

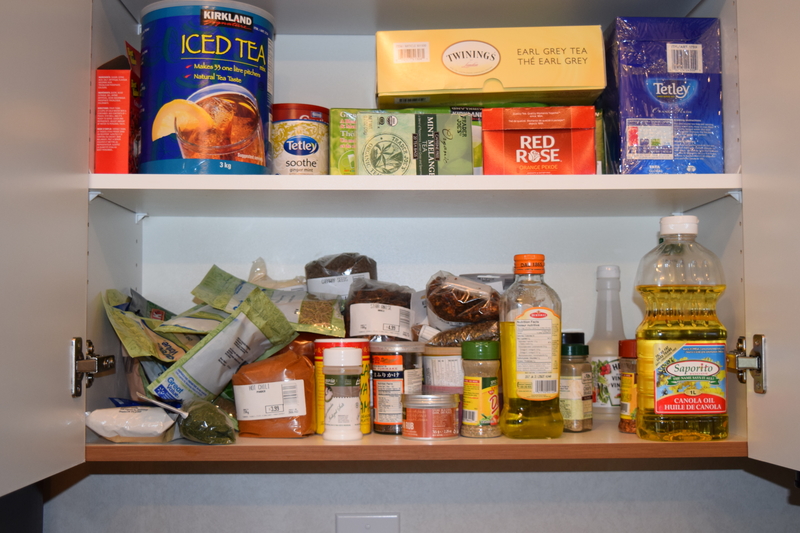
Time to build a spice rack!

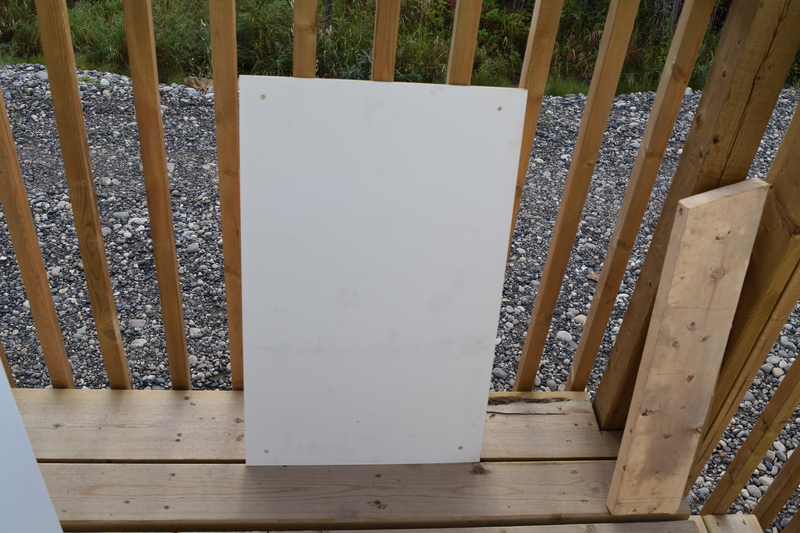
I had the idea when I found an still-almost-new Ikea dresser that someone had tossed out at the dump (the dump here is fascinating, I’ll do a whole blog post on it soon). I grabbed two thin slide-outable sheet of white Ikea particle board out of the back of it.

dsc_0155_medium

The most thrilling part of any project, I reckon, and the thing that drew me to woodworking is imagining and designing what you’ll create. You move the shapes and pieces around in your head, you visualise how all the things will interact, what people will do with it and how it will respond, how will it look, what kind of stress will it be subject too, what needs to fit in it and so on and so on. Eventually you line up all the parts in your head and draw out a plan.

dsc_0156_medium

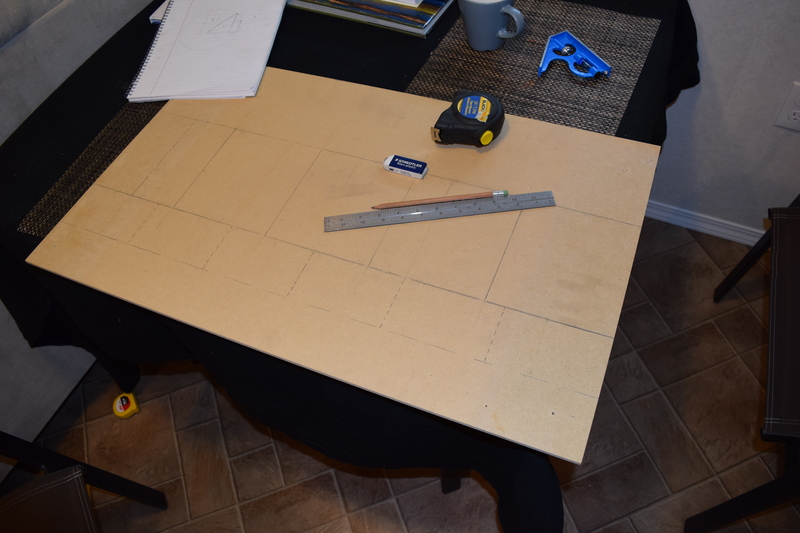
Once the ideas have been drawn out on the wood (lots of erasing!) you start cutting.

First up I tried cutting free hand on the table saw. Great way to mess up your materials. I experienced my first kickback. I put a little too much torque on the long piece I was cutting and the saw grabbed it and threw it back at me at ridiculous speeds. Luckily I was standing aside or I could have been injured!

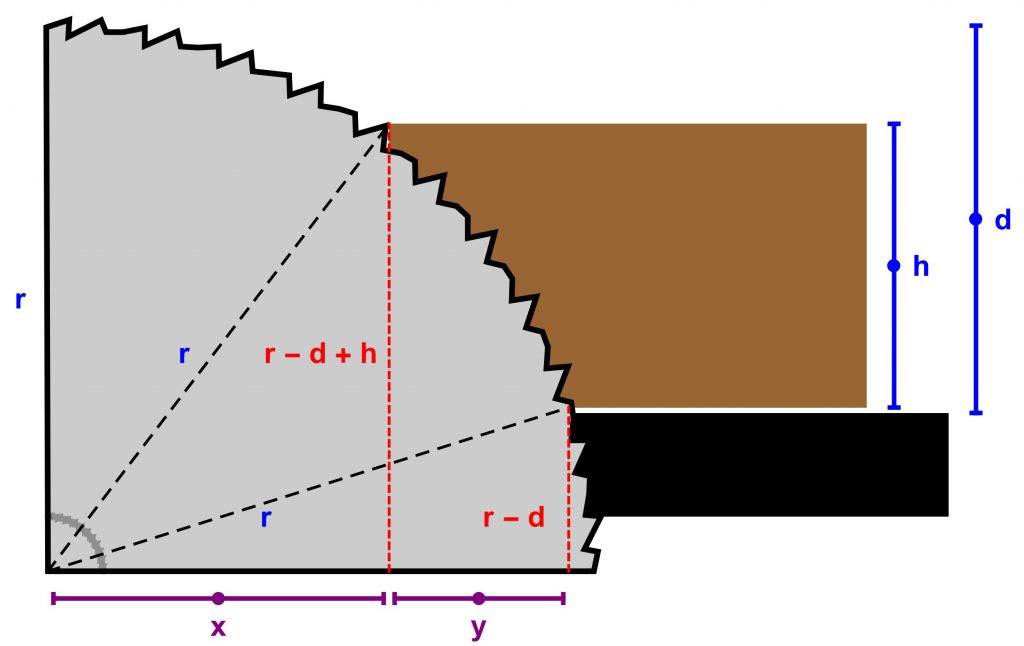
For someone with my terrible manual dexterity and abysmal artistic eye, measuring and clamping is a much better alternative. After figuring out the math (see previous post) I clamped guides onto my table saw and did the rest of my grooves precisely.

dsc_0157_medium

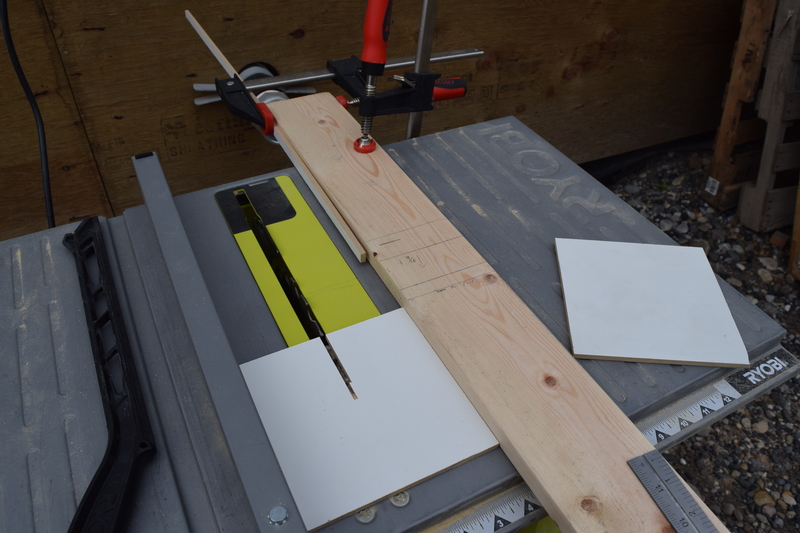
Unfortunately my grooves needed to be just slightly larger than the width of my saw blade. “Fuck it”, I said, “I’m not gonna waste time re-clamping all the damned guides, I’ll just free hand the extra tiny sliver on each piece.” Big mistake. Instead of spending 10 minutes clamping, I’d end up spending several hours with my chisel fixing my imprecise cutting job.

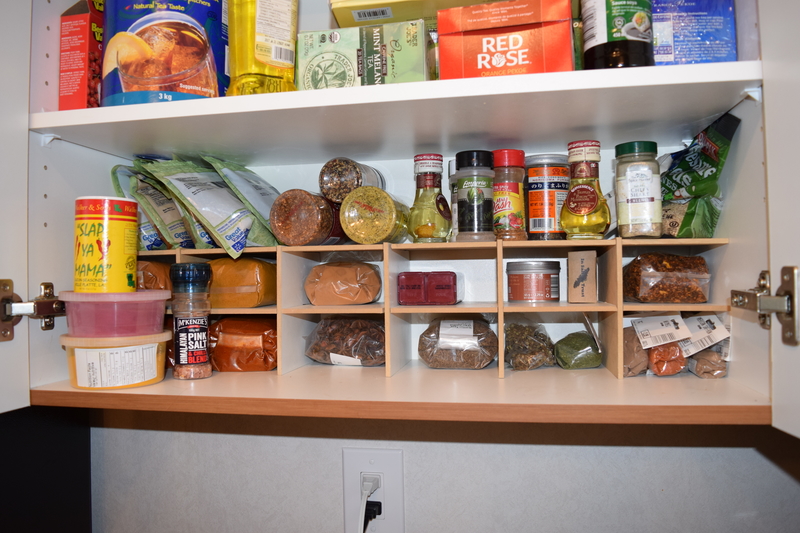
Still, a few hours after I’d started imagining, the thing I’d dreamed of was right there in front of me. It’s kind of satisfying to know that you can whip up a large range of things you need, especially up here where most things are impossible to buy.

dsc_0160_medium

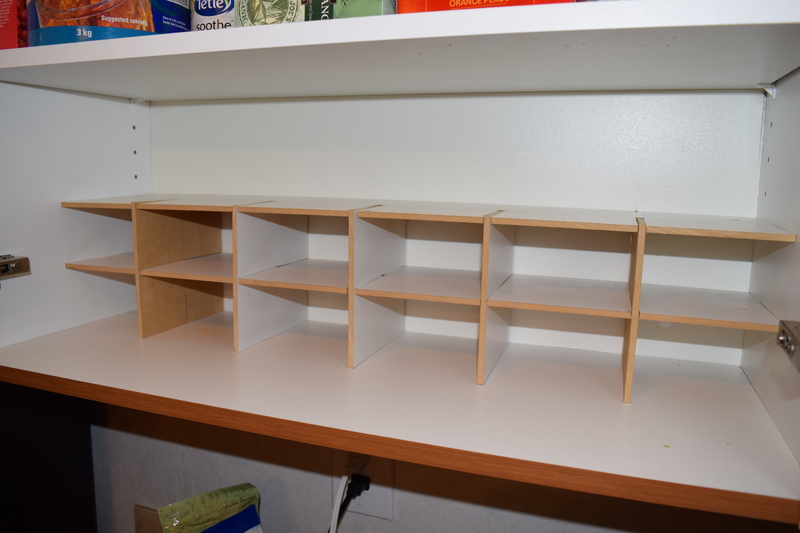
It’s not perfect. There’s plenty of scuff marks on the white surface, a lot of the grooves don’t fit exactly right, and my plan to nail the back of the top shelf to the supports resulted in just splitting the damned particle board.

But! It holds up spices and that’s what matters in the end.

dsc_0161_medium


Precise table saw depth

Written by:

Recently I’ve been finding myself needing to cut a bunch of precise-depth grooves and I’ve only got a table saw to do it with. The trouble is, grooves are square and a table saw is circular.

One easy solution is to set the depth of the saw (i.e, how much it sticks out above the table, which you can do precisely) and place the piece of wood end-down over the blade. That way you’re sure that at it’s highest point—the middle—the table saw only cuts exactly as deep as you want it to. Unfortunately lots of pieces of wood are too long or ungainly to cut end-on.

Another solution is to feed the end of your piece into the saw in a rip cut, and to simply stop (or better still, clamp another piece to the table to act as a stopper) when you get to the required depth. Then you’d just need to turn the piece over and repeat on the other side, and then chisel out the little pyramid you’ve left in the middle.

The trouble with this solution is that while you can easily see how far the saw has cut into the top of your piece, but the bottom is hidden. How do you know at which point on the top of your piece to stop cutting in order to get a precise depth of cut on the bottom?

I cranked out the old high-school trigonometry (who said it would never be useful!) to figure it out. I also made a handy graphic to explain.


saw

We know a few things:

  • r: the radius of our blade
  • h: the height of our piece of wood
  • d: the depth at which we’ve set the blade (i.e., how far it sticks out above the table

This lets us figure out:

  • r-d+h: how far above the center of the blade the bottom of our piece is
  • r-d+h: how far above the center of the blade the top of our piece is

Knowing these lets us draw some triangle and then use good old Pythagoras to solve for the base lengths:

  • \(r^2=x^2 + (r-d+h)^2\)
  • \(r^2=(x+y)^2 + (r-d)^2\)

Solving for x and then using that to solve for y will let you figure out precisely how far in to the bottom of your piece the saw has cut, given where it is cutting the top. Here’s some simplified formula to save you borrowing your kids’ math books:

From [top cut point] to [bottom cut point]:

\(y = \sqrt{d (2 r-d)}-\sqrt{(d-h) (2 r-d+h)}\)

From [middle of saw] To [top cut point]:

\(x = \sqrt{(d-h) (2 r-d+h)}\)

From [middle of saw] to [bottom cut point]:

\(x-y = \sqrt{(d-h) (2 r-d+h)}\)

So, for instance, say you had a 10 inch blade (r=5)  and wanted to cut a 3.5 inch piece of wood (h=3.5) and had extended 4 inches of the blade above the table (d=10). You’d have: x = 2.18, y = 2.72 and (x+y) = 4.9 inches. Say you wanted to cut exactly 6 inches into the piece, you’d know you needed to put a stopper exactly 1.1 inches beyond the horizontal center of the saw (just use a square to find and mark it) to get a perfect depth cut.