Home calisthenics rig

Written by:

Ingredients:

  • 1 Skeleton of a children’s swing set salvaged from dump
  • 4 Stumpy wooden posts, cut to roughly the same length
  • 3 Long pieces of scrap wood
  • A few salvaged screws or nails
  • 1 Pair of cheap gymnastics rings purchased before leaving civilisation

Procedure:

  1. Combine ingredients
  2. Take photo and post to blog
  3. (optional) Use for exercise

dsc_0296

I made a shed!

Written by:

Step 1: Acquire pallets, join together vertically. Tread fine line between wastefully overusing your ridiculously rare and expensive nails and screws, and under-using them and having the shed fall on your head.

dsc_0219_medium

Step 2: Flip pallet-chimeras over and join together horizontally on the other side. Make two sides, with a total of six pallets per side.

dsc_0220_medium

Step 3: Stand the two pallet-sides up (with temporary disassembled-shipping-crate supports) and add cross beams to hold them together.

dsc_0242_medium

Step 4: Add diagonals sloping down from top of higher side. If ground is uneven and wood is irregular, distorted and scavenged from small isolated town, this will involve lots cutting, shaping and padding.

dsc_0247_medium

Step 4b: You can use trigonometry to figure out the slope of your diagonal and cut your beams so they lie flat on the horizontal cross beams. However…

dsc_0244_medium

Step 4c: It will take the geometric brilliance of your wife to notice that the off-cut you just made will be the exact right angle for bracing the other end of your diagonal beams too! (I was going to try to somehow cut an 11 degree inset into the top horizontal beam instead! Buh! Totally unnecessarily).

dsc_0246_medium

Step 5: Add plywood roof and park your snowmobile.

dsc_0253_medium

dsc_0263_medium

Bonus tip: If you are not brave enough to risk walking on your new roof, you can instead attach the plywood by leaning out your bedroom window!

dsc_0256_medium

Acknowledgments

This production wouldn’t have been possible without the following generous sponsors:

  • Faye’s mum and step-dad, who (having read my previous complaint on this blog) sent a shed-saving supply of screws along with Faye’s birthday gift.
  • My neighbor, who loaned me his ladder and helped me scavenge wood at the dump.
  • My other neighbors, who helped moved the pallet walls into position. Pallets are heavy. Six pallets joined together are insanely heavy and would probably squash you if you dropped them.
  • The contractors building a house nearby, who dropped off a whole big load of their scrap wood for me.
  • And the number 9. C is for cookie, and that’s good enough for me.

Bench vise

Written by:

A bought a bench vise before coming up. I wanted a small one but they only had large. Now that I’d built myself a bench, it was time to mount it.

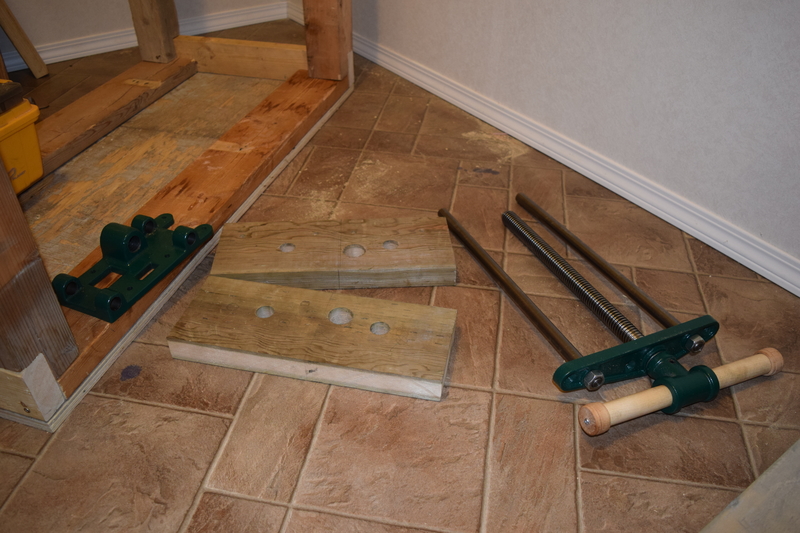
First step was to build myself a pair of jaws.

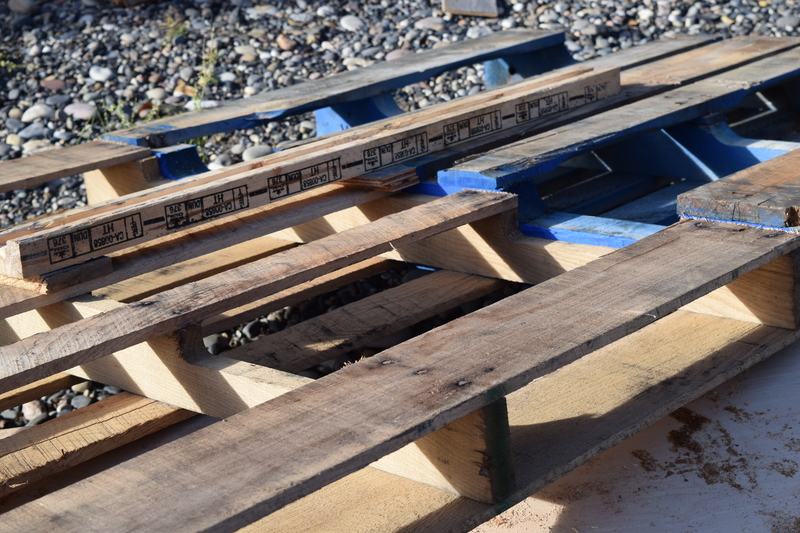
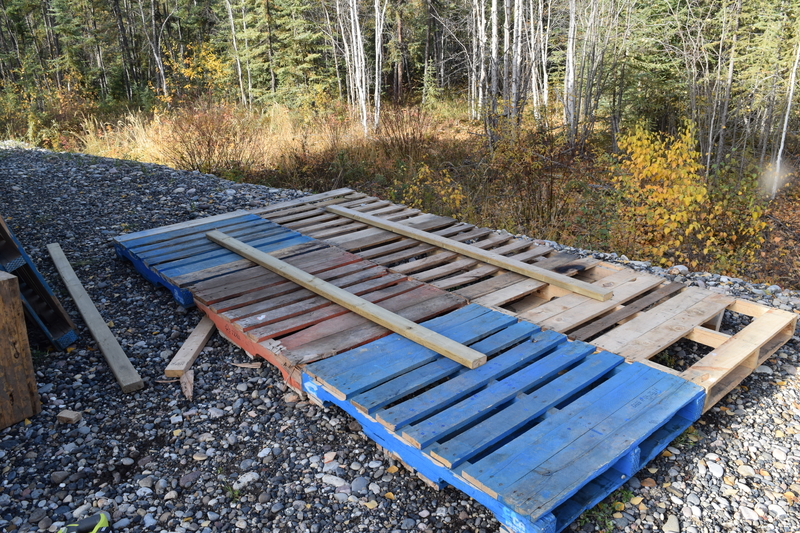
There is a house being built a couple of houses down for me, and I asked the builders if they had any useful scrap they were going to take to the dump. Among other things, they gave me some relatively-unwarped 2×6 pieces of lumber. I cut them to the right size on the table saw and marked up where the vise pieces would go through. Getting those holes drilled perfectly was the key to having the vise line up right.

I’ve befriended a couple of neighbours: one who’s an auto-mechanic and one who used to be a cabinet maker (and still has all his tools!!). Great guys to know. I borrowed the right sized bit from the cabinet maker, and took it and my marked up jaw-pieces over the the mechanic’s shop to use his drill press. I ever so carefully drilled my holes perfectly, and then excitedly brought them home to set everything up.

dsc_0192_mediumLooking good so far… Flip the table, measure twice, drill pilot holes, attach screws, careful, careful, everything at just the right angle and flip the table back and…

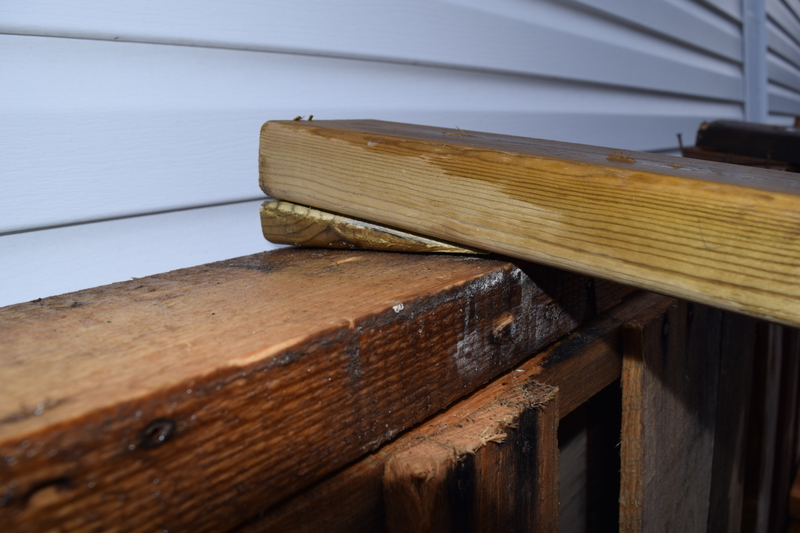
Goddammit! Turns out when I had built my table I’d accidentally angled the support beam at the edge of my table ever so slightly off of perfectly square! So now the outer jaw of the vise accentuates that and sits a couple of millimeters below the inner jaw.

Meh.

dsc_0194_medium

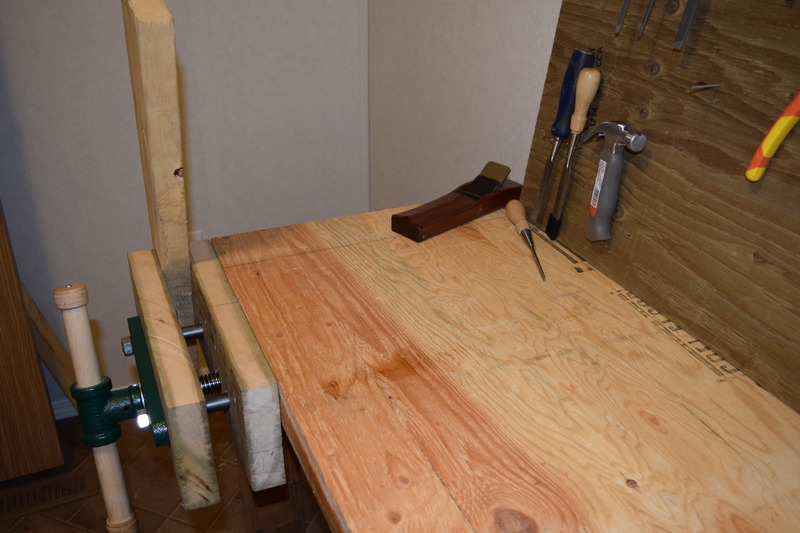
It holds work pieces, that’s good enough. Later I’ll plane the inner-jaw down so it’s all nice and flat too, which’ll be even more useful. For now, I’m going to count it as a partial success and a valuable learning project.