Pallet Shoe Rack

Written by:

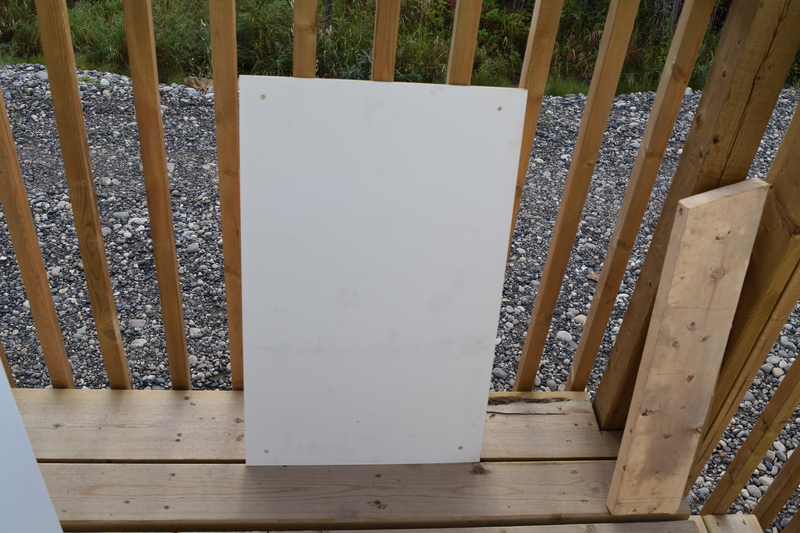
While Tulita may be starved of lumber, it is rich in pallets. I assume they arrive on the barges and ice-road trucks, carrying various goods, and are not worth sending back. People’s yards are full of them, the “board walk” near the local playground is made of them (I’ll grab a picture some day and add it to this post) and the “wood” section of the dump is full of them.

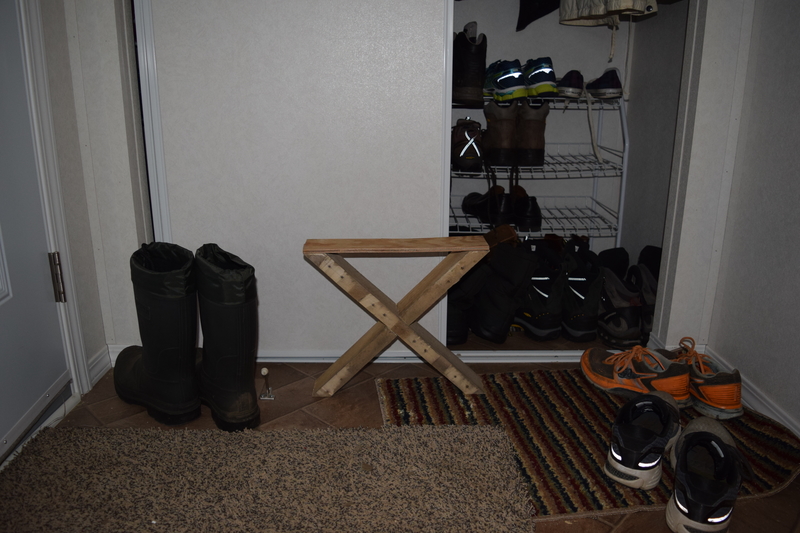
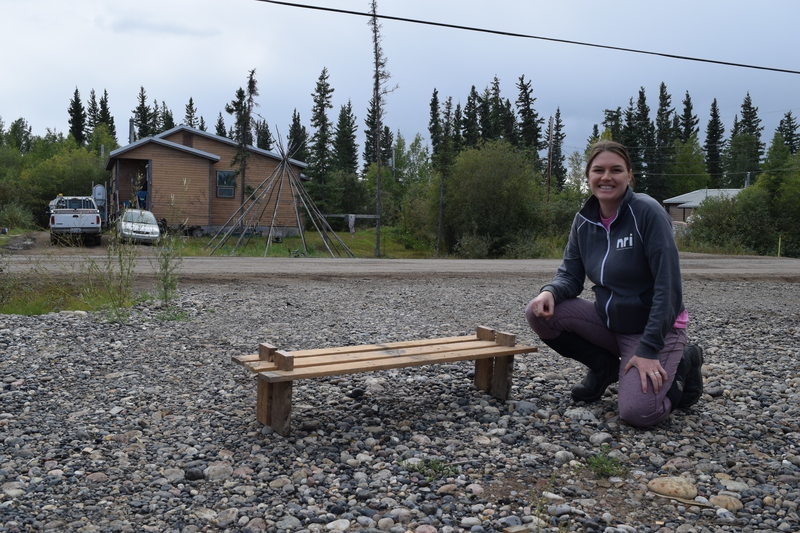
My neighbors just moved into a new, bigger house (they’re having a baby soon) and suddenly found themselves needing a shoe rack. Seemed like a good time to experiment with pallet based construction.

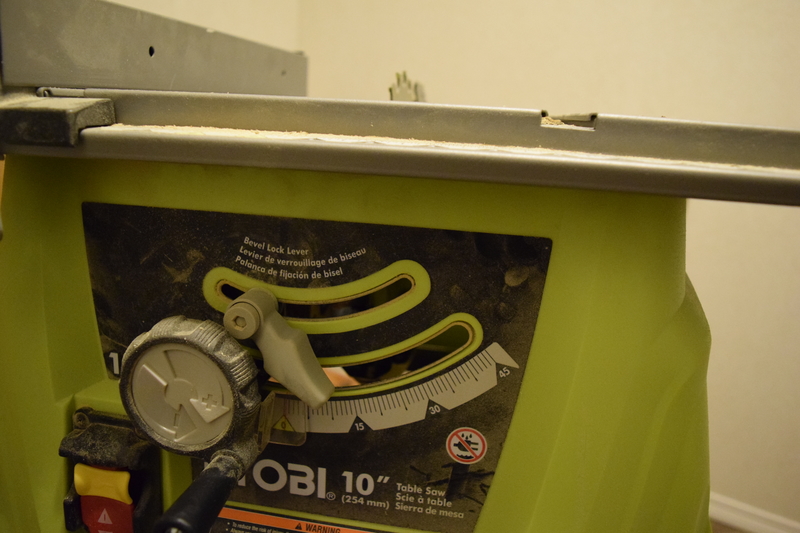
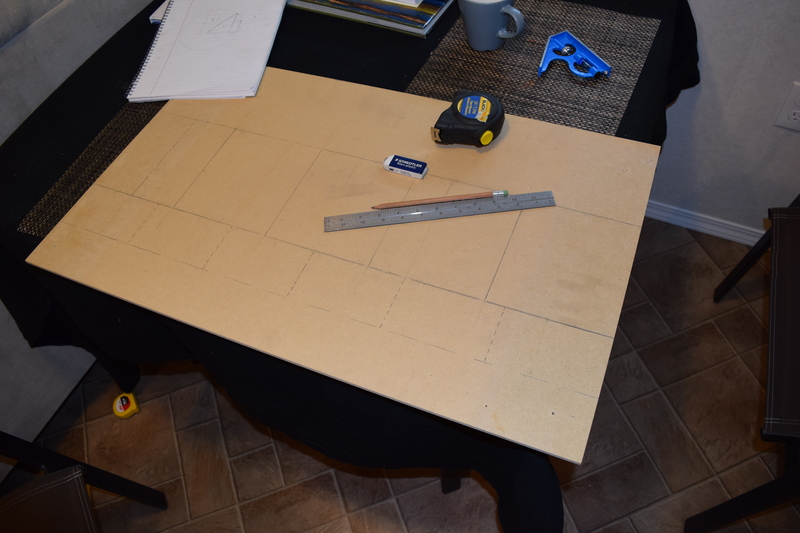
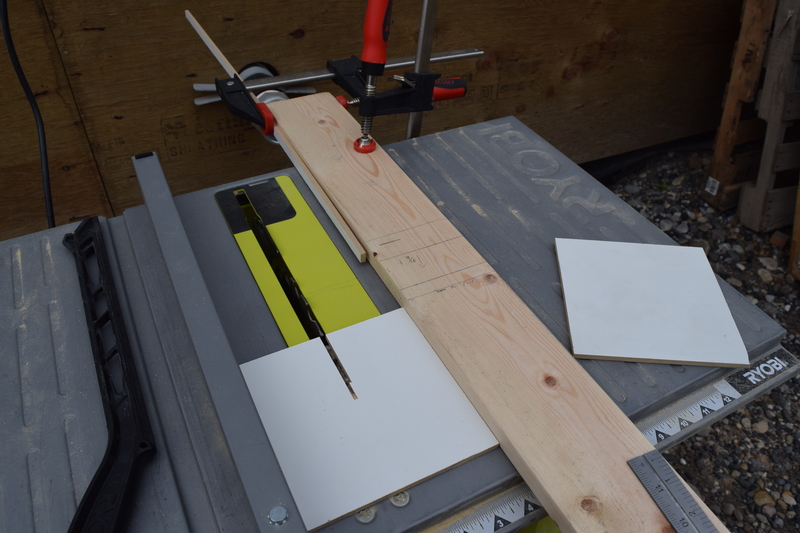
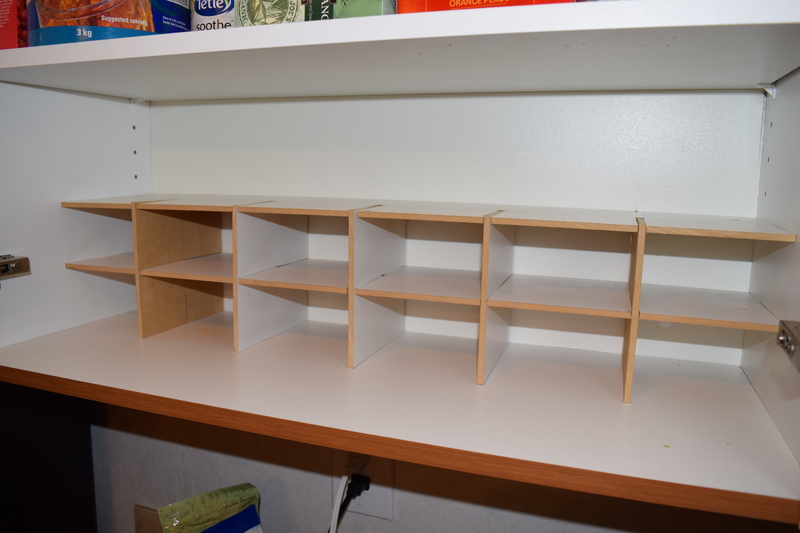
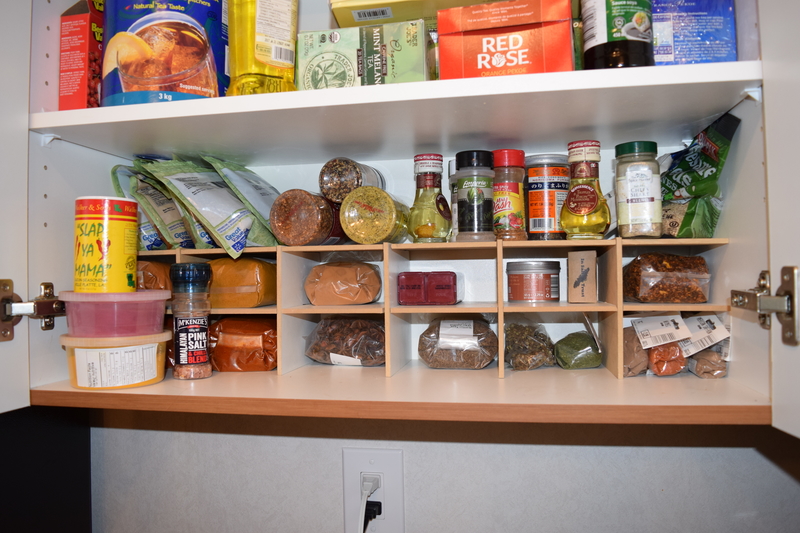
The construction went fine. I just cut a couple of dadoes (like grooves, but across the grain) into the support beams, making them are just big enough to slip the slats into, assembled and presto! One shoe rack!

dsc_0150_medium

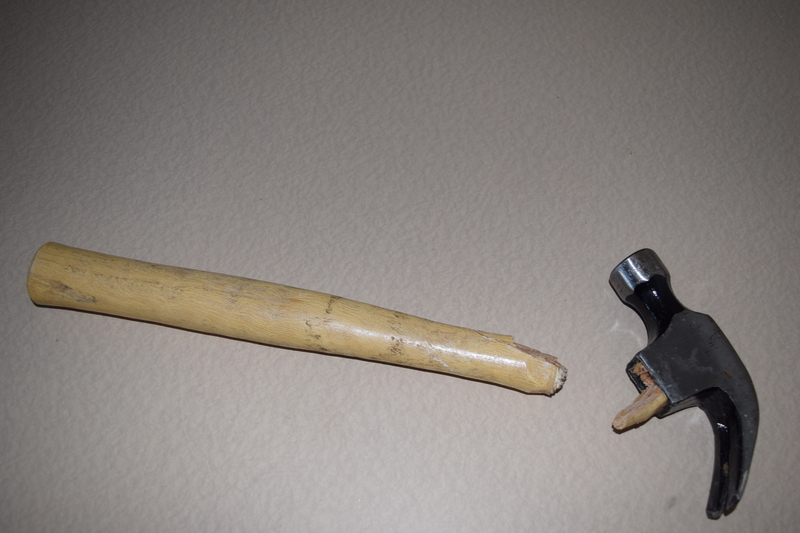
The tough part, it turns out, is taking the damned pallets apart. Those things are built to stay together! I snapped a hammer in half trying to pry the nails out (lesson learned about cheap hammers…).

dsc_0176_medium

I ended up using a reciprocating saw to cut through the nails. Even that was a challenge, because I still needed to bang the slats off enough (despite no room inside to swing a hammer) to fit the saw in between. Found out a few days later that another neighbour owns a massive oversized crowbar that I can borrow! That’s another thing I should have thought to bring up…

Pallet stool

Written by:

Now, call me a princess, but I like to sit my arse down when I’m putting on my shoes. And not on the ground either, I like to have a nice chair or stool to sit on. Unfortunately there’s not room for a chair in our little vestibule, and in muddy, snowy Tulita you don’t want to take a single step into the house in your outdoor shoes.

Time for another pallet-based construction project. This time the plan was to just cut a couple of support-beam sized dadoes exactly half-way into a couple of pallet support beams, slot them together, cut the ends at 45° and stick a piece of pallet slat on top. If everything is cut exactly right, it should just slot together perfectly, sit perfectly flat and take no time at all.

Of course, that didn’t happen. My middle joints were off, my 45 degrees were actually somewhere between 44.5 and 45.5 and the whole thing wobbled wildly when I stood it up.

A month ago I was navigating the dilemma of what to buy to bring up. I didn’t know what I’d need but I knew I had only had a one-time shipping allowance. Easy to get spooked and over-buy, but also easy under-buy and be missing something essential for three years.

I decide to buy a table saw, but decided to buy the cheapest table saw. The first decision was a good one! The table saw has been super useful. Unfortunately the cheapness means that:

  1. there’s no precise depth-gauge, so I need to rely on my imprecise eye-ball and ruler,
  2. the hinge that sets the bevel angle is plastic, cheap, weak and easily jostled by the depth adjusting handle, so the blade is often not exactly straight,
  3. the bench is short, so it’s hard to align long pieces, and
  4. the whole thing is unstable and shifts small amounts easily.

So, cutting *exactly* straight on this table saw isn’t something I’ve mastered yet. But I’ve got time, I’ll figure it out.

dsc_0183_medium

Anyway, add a few hours of patient chiseling, measuring, fitting things together, wobbling them, unfitting them, and lots more chiseling to the initial plan and I ended up with a nice, compact, stable, stool for changing your shoes on.

dsc_0168_medium

The spice rack

Written by:

We knew that coming up here food variety would be limited, so we decided to bring the widest selection of non-perishables we could. That mostly turned out to be all sorts of dried spices. Since they arrived our diets have been far more exciting, but there’s so many of them that they hardly fit in the kitchen closets.

dsc_0153_medium

Time to build a spice rack!

I had the idea when I found an still-almost-new Ikea dresser that someone had tossed out at the dump (the dump here is fascinating, I’ll do a whole blog post on it soon). I grabbed two thin slide-outable sheet of white Ikea particle board out of the back of it.

dsc_0155_medium

The most thrilling part of any project, I reckon, and the thing that drew me to woodworking is imagining and designing what you’ll create. You move the shapes and pieces around in your head, you visualise how all the things will interact, what people will do with it and how it will respond, how will it look, what kind of stress will it be subject too, what needs to fit in it and so on and so on. Eventually you line up all the parts in your head and draw out a plan.

dsc_0156_medium

Once the ideas have been drawn out on the wood (lots of erasing!) you start cutting.

First up I tried cutting free hand on the table saw. Great way to mess up your materials. I experienced my first kickback. I put a little too much torque on the long piece I was cutting and the saw grabbed it and threw it back at me at ridiculous speeds. Luckily I was standing aside or I could have been injured!

For someone with my terrible manual dexterity and abysmal artistic eye, measuring and clamping is a much better alternative. After figuring out the math (see previous post) I clamped guides onto my table saw and did the rest of my grooves precisely.

dsc_0157_medium

Unfortunately my grooves needed to be just slightly larger than the width of my saw blade. “Fuck it”, I said, “I’m not gonna waste time re-clamping all the damned guides, I’ll just free hand the extra tiny sliver on each piece.” Big mistake. Instead of spending 10 minutes clamping, I’d end up spending several hours with my chisel fixing my imprecise cutting job.

Still, a few hours after I’d started imagining, the thing I’d dreamed of was right there in front of me. It’s kind of satisfying to know that you can whip up a large range of things you need, especially up here where most things are impossible to buy.

dsc_0160_medium

It’s not perfect. There’s plenty of scuff marks on the white surface, a lot of the grooves don’t fit exactly right, and my plan to nail the back of the top shelf to the supports resulted in just splitting the damned particle board.

But! It holds up spices and that’s what matters in the end.

dsc_0161_medium